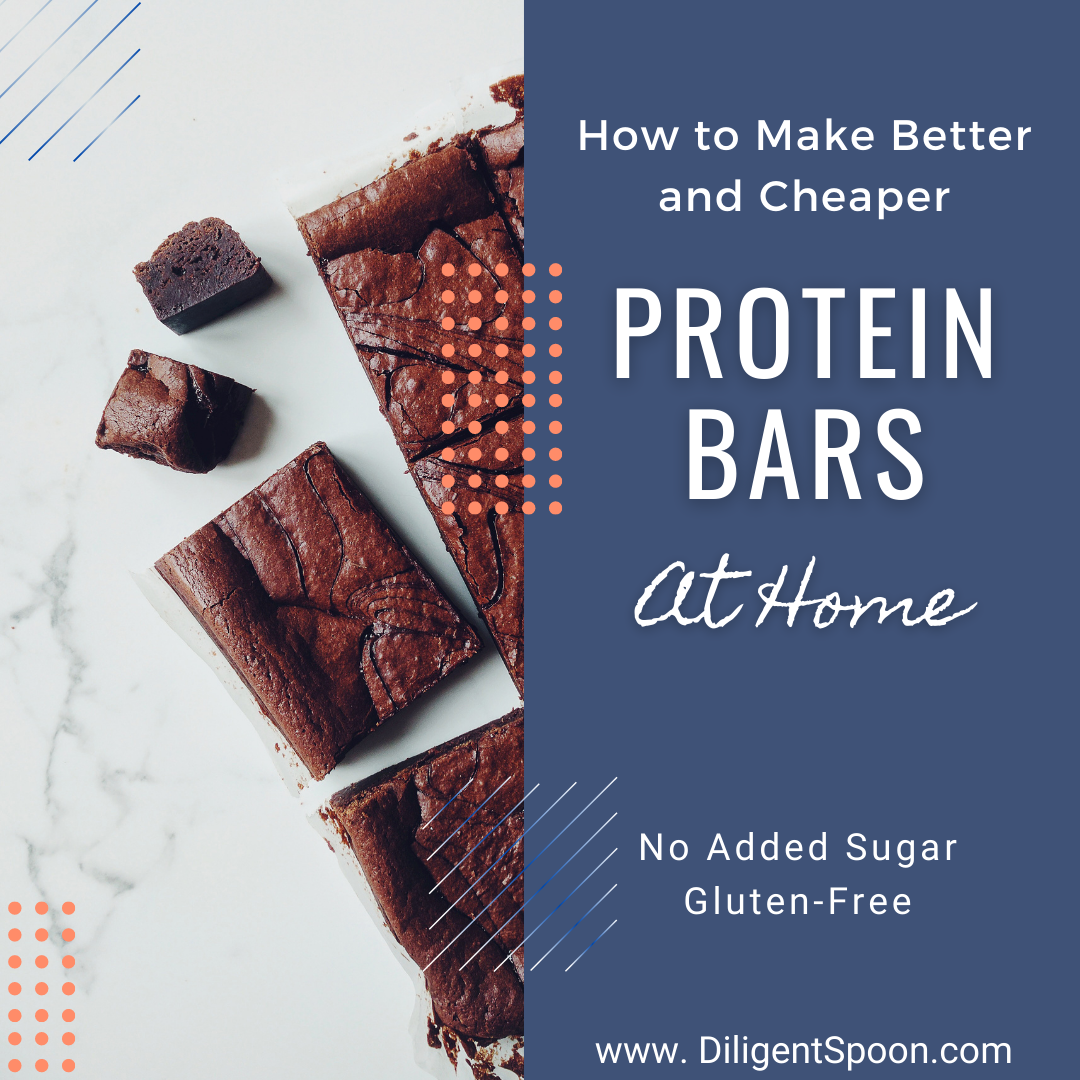
How to Make Better & Cheaper Protein Bars at Home
Tired of spending money on protein bars that look (& sometimes taste) like a piece of you-know-what? With the help of my taste-testing family (and lots of failed attempts), I’ve learned how to make protein bars at home that taste better and are a lot cheaper than prepackaged ones we buy.
Have you ever been in an airport or grocery store looking for a healthy and convenient snack and wandered over to the protein bar aisle? There are dozens of carefully-concocted bars that have just the right “macros”, are shelf-stable, and come in mouth-watering flavors like “chocolate chip cookie dough” and “peanut butter pie.” Follow-up question: How many times do the bars actually taste like chocolate chip cookie dough?
I hope you’ve been lucky enough to find a delicious protein bar on a store shelf. More often than not, I’m disappointed in whatever flavor (maple-glazed-donut comes to mind) I choose. Also, I’m spending more time at home lately, I also hate creating a wad of trash every time I eat a protein bar. Since I have all the ingredients to make something tasty, less expensive, and garbage-free – well, I decided to do it.
What makes this protein bar recipe work:
1. You Only Need a Bowl, a Fork, and a Spatula.
You need a medium-large bowl, a fork, and a spatula. Maybe a tablespoon, too. That’s it.
2. Only Six Ingredients
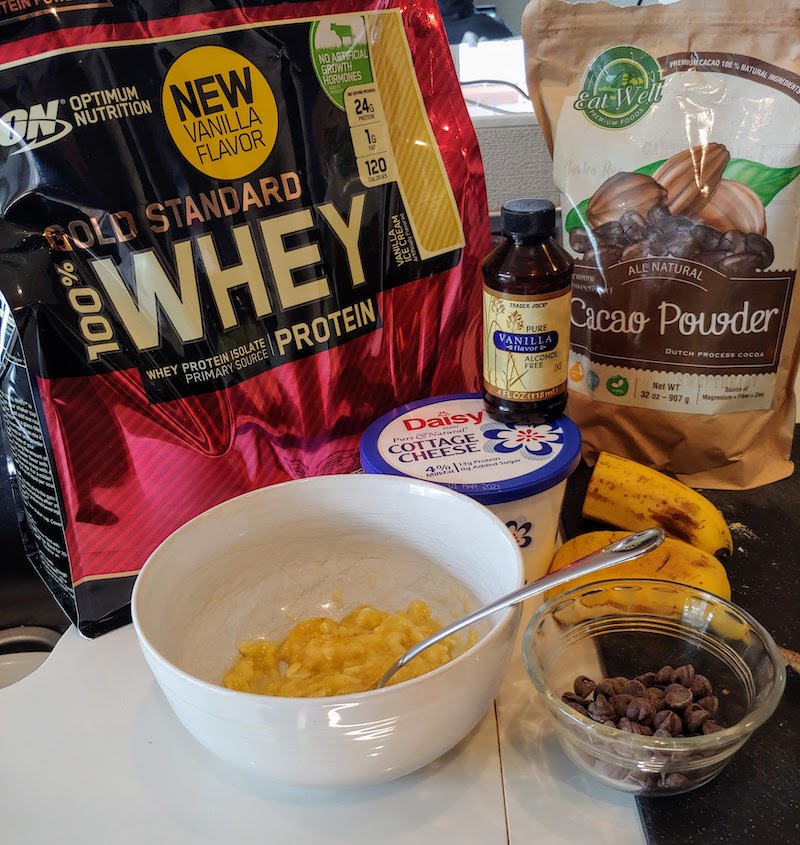
Five of the six ingredients are “normal” foods, and there’s no added sugar.
Protein powder is the exception to the “normal” food list. Yes, it’s processed, but you know what? I can live with that because it has high quality, easy-to-digest protein and lots of muscle-building branched-chain amino acids (BCAAs) (especially important for athletes and injury recovery). And, it is a milk protein product, so it isn’t totally manufactured.
Side note: Heating whey protein may change the protein through the denaturing process, but this will not make it less nutritious or decrease its benefits to your health
3. Good Cocoa or Cacao Powder
The key to a deep chocolate flavor is high quality cocoa powder. My all-time favorite is the Eat Well Cacao Powder.
4. Flavored Whey Protein Powder
Flavored whey protein powder adds protein, sweetness without actual sugar, and a bit of flavor. I like ON’s Gold Standard Whey in vanilla ice cream flavor. However, I’ll bet chocolate, cookies ‘n’ cream, and similar varieties would taste great, too.
5. Dark Semi-Sweet Chocolate Chips
A little goes a long way! Two tablespoons of semi-sweet chocolate chips are all we need to boost the YUM factor on this recipe.
6. Cottage Cheese
Wait, what?! Yep, and here’s why.
- First, it has a lot of protein. In this recipe, cottage cheese alone ads 26 grams of protein, or around 4 grams per bar.
- Second, it has rich and salty flavor, so you don’t have to add any salt.
- Third, it has some fat, which makes the bar more tender on the inside and smoother in your mouth. Along those lines, the curds melt when baking and add an interesting variation in texture.
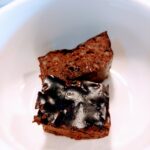
Brownie Protein Bars at Home
- Total Time: 1 hour
- Yield: 6 bars
- Diet: Gluten Free
Description
Tired of spending a lot of money on protein bars that taste horrible, are harder than a brick, or give you tummy trouble?
Whip together these delicious brownie protein bars at home with just a few ingredients, and you’ll have to hide them from from your family and friends – they are that good!
Ingredients
1/2 banana, mashed
3 tablespoons high-quality cocoa or cacao powder
1 cup (about 8 oz) cottage cheese
1/2 teaspoon vanilla (optional)
2 scoops flavored whey protein powder
2 tablespoons semi-sweet chocolate chips
Equipment:
- Standard-sized loaf pan (8 1/2″ x 4 1/2″)
Instructions
- Preheat oven to 325’F
- Spray the bottom of a standard loaf pan with nonstick cooking spray.
- Mix the cocoa powder and mashed banana together with a fork until it looks like almost all of the cocoa powder is moistened. Ie, it’s not flying all over the place in a brown cloud.
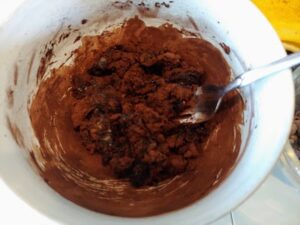
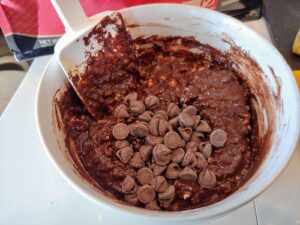
- Using a spoon or spatula, gently stir in the rest of the ingredients, in order, until well-mixed.
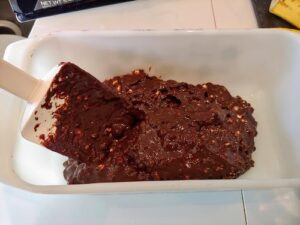
- Pour the bar mix into the loaf pan and spread it out evenly.
- Bake at 325’F for 45 – 50 minutes.
- Remove from the oven and cool for 20 minutes or more. Cut into six bars, and enjoy.
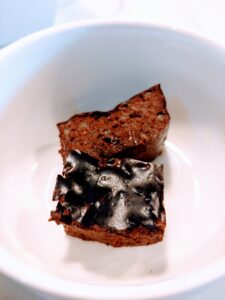
This is one bar, cut in half.
Notes
- If you want to double the recipe, use an 8″ x 8″ pan or two loaf pans.
- Store cooled bars in the refrigerator for up to five days.
- Prep Time: 10 minutes
- Cook Time: 50 minutes
- Category: Snacks
- Method: Bake
Nutrition
- Serving Size: 1 bar
- Calories: 107
- Sugar: 6 g
- Sodium: 164 mg
- Fat: 3 g
- Saturated Fat: 2 g
- Trans Fat: 0 g
- Carbohydrates: 9 g
- Fiber: 2 g
- Protein: 13 g
- Cholesterol: 17 mg
Homemade Protein Bars are Less Expensive
How much do homemade protein bars cost? Here’s the breakdown:
- 1/2 banana: $0.15
- 3 tablespoons high-quality cocoa or cacao powder: $0.33
- 1 cup (about 8 oz) cottage cheese: $1.30
- 1/2 teaspoon vanilla (optional): negligible
- 2 scoops flavored whey protein powder: $1.38
- 2 tablespoons semi-sweet chocolate chips: $0.13
Total Cost: $3.29
$0.55 per bar (for six candy-bar-size bars)
You can also double up and make this recipe three bars, which is more in line with calorie (~200) and protein content (~26 g) of commercial bars. In that case, the cost will be $1.10 per bar, which is still a great deal. Plus, you’re helping the environment because there’s no trash!
$1.10 per bar (if you cut them into three XL-size bars)
Are You Ready to Start Making Your Protein Bars?
With a few ingredients, a loaf pan, and an hour – mostly unattended – you can have a batch of delicious, inexpensive, and packaging-free protein bars. Compared to pre-packaged protein bars, these homemade bars have just as much (or more!) high-quality protein, but don’t have the additives and fillers.
I hope you enjoy this recipe – please let me know what you think!
Resources


